Hi everyone. I don't know how many of you might be interested in seeing the actual process, but I thought this might be interesting for some of you . I have taken photos of each step in the making of this doll, other than making her dress, I got busy and forgot to take pictures, but thats a fairly simple step, and allows for so many variations..it's really up to the creator as to what type of clothing you want to make for your doll, either fabric, paint, clay, or a mixture of all! I hope you enjoy following along as I create this commissioned Asian dollhouse miniature girl..finished, she will be 4.5 inches tall.
In this first photo I have mixed the clay a subtle shade of yellow, after the clay bakes, the skin color will be a bit deeper, and less yellow, but look authentic for an Asian girl. Here, shows the comparison to a regular Caucasian fairy/doll
I create dolls with three different type of eyes, sculpted eyes, made completely from the raw clay, and hand painted after baking, inset eyes, I create with clay, computer generated iris' then coated with fimo gel, and this type..that begins with a glass head quilting pin in white. The pins are cut, and inserted into the raw clay face to be later hand painted.
The face when inserting the quilt pin initially.
The eyes after pushing them into the head, and making sure they are aligned evenly
now the face has been roughed in with a nose..I use a small ball of clay, added to the bridge area of the nose, and spread it down, and outwards, then using a very small stylus, or sometimes a toothpick, I create the nostrils. I have sculpted in the laugh lines of the face, and will "shallow them out a bit as I work further on the face. Notice the little snake of clay in the background..this will create a barely there top eyelid for an Asian doll..some have no visiable top eye lid, and also a bottom eye lid/socket created from the "snake roll" and smoothed downward into the front of the cheek area.
For hand painted eyes, I prefer to use acrylic paints, and for Asian eyes, I simply use all black..this is sequin black metallic..it has a very high gloss shine when dry, and helps give the hand painted eye depth. I will add Sakura Liquid to the eye after baking which will enhance them further.

Here is the face with the eyes painted, and the lips sculpted in. I thought I had included a photo of the lip step, but apparently not. I will try and explain how I sculpt in the lips. I use a hand made wooden knife..made simply from a Popsicle stick, and sanded to a narrow rounded point about 1/4 inch wide, I insert the knife into the clay, and pull upwards and outwards gently, then I take my favorite tool, a sanded smooth bamboo skewer that is rounded on the end, and I lay it flat against the underside of the slit/top lip, and gently roll it upwards! This usually creates a pretty little lip, which takes very little time to create. Ok, now you are left with a hole under the top lip yes? I take the "clay snake roll" and cut a piece just a little wider than the mouth, and place it under the top lip, in that crevice I then smooth it downward, as well as outwards towards the sides of the face until the lip is the size, and shape I like.A bit of gentle pressure under the bottom lip helps create the chin ball

Asian features are different than that of Caucasian, most have a flatter forehead, and more shallow face with a wider bridge to the nose, full lips, and often a wider nose itself. As you can see here, the flatter forhead which doesn't protrude as much as Caucasian. I have also sculpted in the ears..I am not great as ears, but am getting better as time passes. I use a ball of clay added to the head, and work it in with a small stylus for the ears. I suggest you get a good clear photo of both left and right ears and practice..ears are hard to make look realistic!
Photo of the face nearly finished except for just a bit of smoothing with a couple drops of baby oil on a very soft small brush.
The opposite profile picture..looks pretty similar, but not exact. Little known fact...the right and left sides of everyone face are quite different. If you had a photo of yourself with either two right sides put together, or two left sides, we would all look very different. So, don't fret, the right, and left sides are not supposed to be identical!

Ok here I have created a small wire armature created from 24 gauge wire and I am beginning to add the clay. The armature here is 5 inches in height, but the doll will end up being just 4.5 inches tall. The allowance for the head/feet bends in the wire ect will shorten the height of the armature
I am by NO means an expert on sculpting art dolls, and I add my clay to the armatures differently for larger dolls..I sculpt in the details after I have added the clay, on these smaller dolls, I choose to sculpt the feet and hands before I add the arms and legs..will explain further in later photo. My methods are my own, since I am completely self taught, and I am sure an artist who has had formal training might frown on my methods, I merely thought some might enjoy seeing how I do it!
with that said, here is the back of the doll after I have smoothed somewhat, and added in details ie the buttocks, shoulder blades, and spine
I have now added the head to the armature, and began smoothing in the neck, and sculpting in the breastbone/collar bone and the front features of this little girls body..on to the hands and feet!
As I said before, on these small dolls, I prefer to create a snake tube, with a paddle on the end for the beginning of the hand, after I have created the hand, and shaped the arm, I use a long toothpick (cocktail toothpick) and simply drill a hole the length on the arm, and insert the arm over the wire..Then I reshape, and smooth, affixing the arm to the upper torso, as well as enclosing the clay around the wire easily. The fingers are shaped by rolling slightly, and pulling slightly each individual finger.
grandaddy long fingers..haha After stretching the fingers to the right diameter, I cut with an exacto knife, and round the finger tips. then I sculpt in the nails.
sorry, this photo was fuzzy, and hard to see the fingernails.
here the arm has been shaped, and the nails are clearly visible.
tiny wrist bones were added and smoothed in.. the bone structure in the top of the hand was sculpted as well..remember, there are no straight lines in the body even if slight, every part has a curve, or a roundness. I admit often my tiny fingers could use more rounding..they appear flat and sharp..that's a no no!
here I have added the right arm, and leg..she will need smoothed again, and cleaned up a bit..she's getting little dirty particles in her!
ok she has all of her body parts added, and has been baked..I applied her makeup..blush ect using Genesis Heat Set Oils, after she was baked, then I baked her five additional minutes to set the paint.At this stage, I add the tiny "drop" os Sakura liquid 3 D crystal lacquer..it makes the eyes come alive!
She has been blushed in all the right areas, but needs a bit of smoothing..I use a light colored light weight sandpaper to smooth her, then apply more paints if needed, and bake her 5 more minutes. As you can see, she will be wearing shoes, so I did not sculpt in toes, the foot will be completely covered with socks, and shoes...now she needs to get dressed..
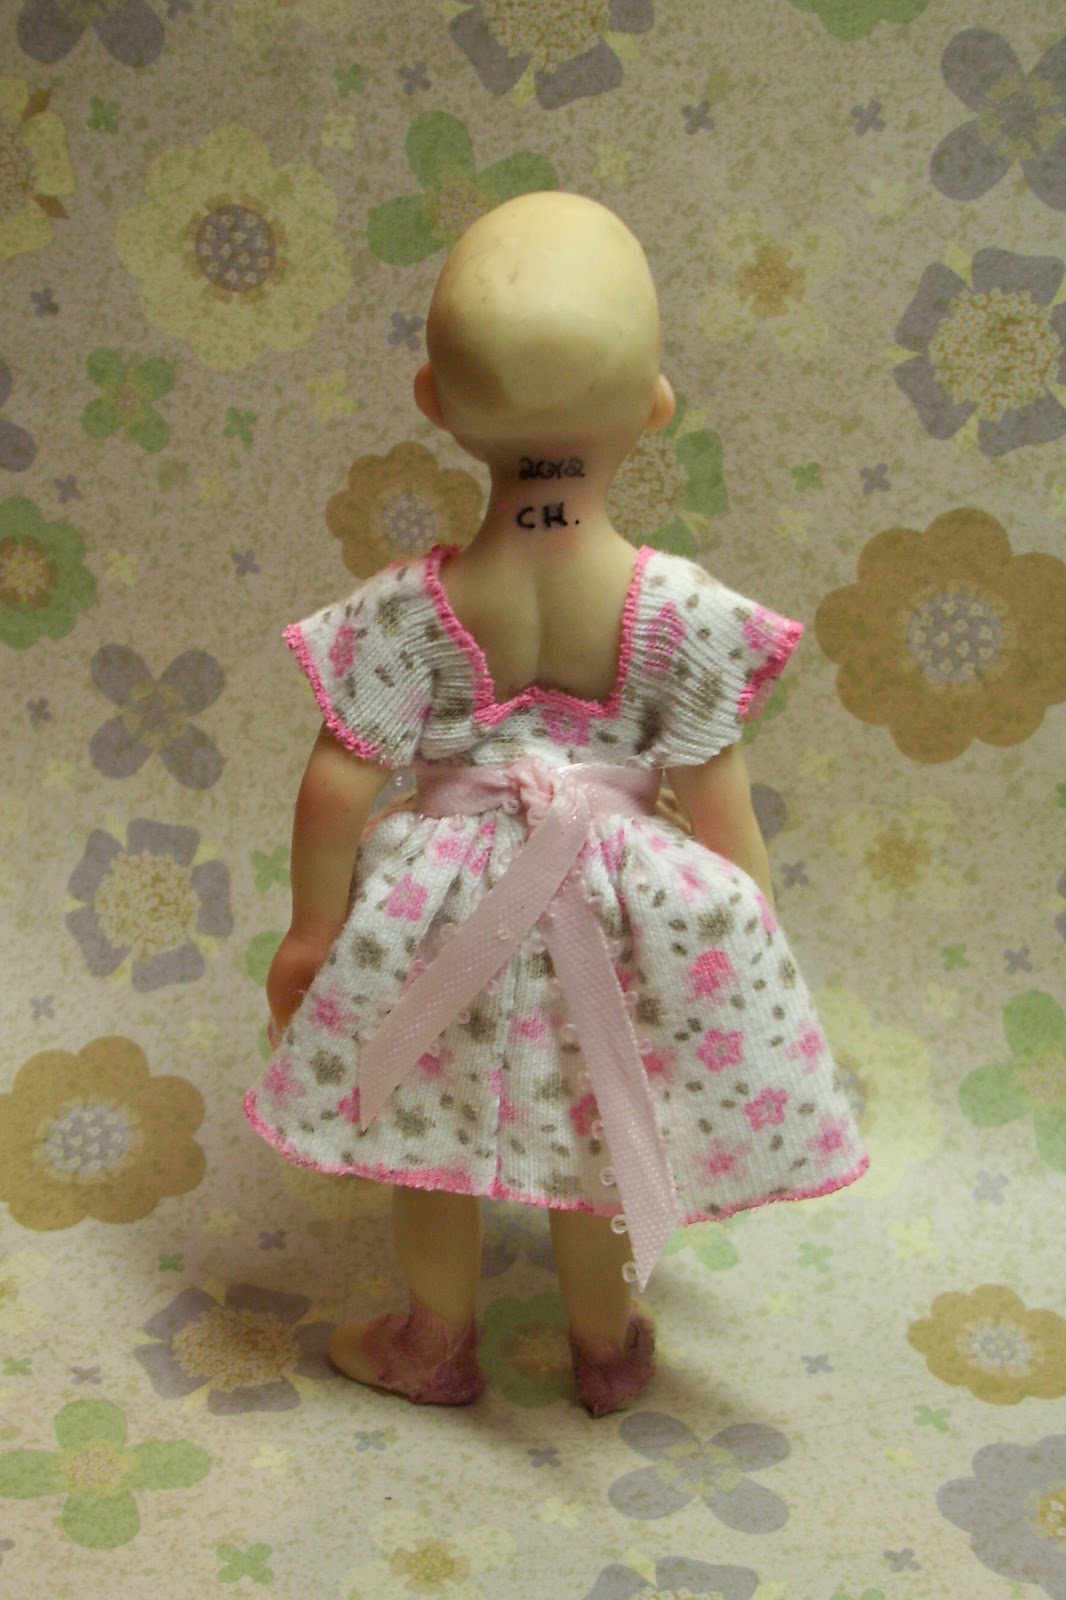
I apologize for not taking photos during the step, but I used a thin piece of soft lace for her socks, and undershirt, glues directly onto the doll. Her dress was created from a babies onesie, with hand painted hot pink trim on the neckline, hem, and sleeves. I usually make the dress (hand sewn) and leave the back completely open so it is much easier to dress her. I then simply sew the dress to fit the doll, trimming as I sew it up! I placed a ribbon around her waist as a sash/tie and glues her socks on as shown..don't worry the socks will be covered by the shoe!
I made her a tiny pair of matching panties!
This is the black leather cut to begin making her shoes..I use Aleenes craft glue for attaching the leather to the foot, it dries fast, and adheres well to the leather backing.
shes getting her new Mary Janes! Soft stretchy leather is wonderful for shoe making, as long as it is thin.
Do you like my pretty shoes?
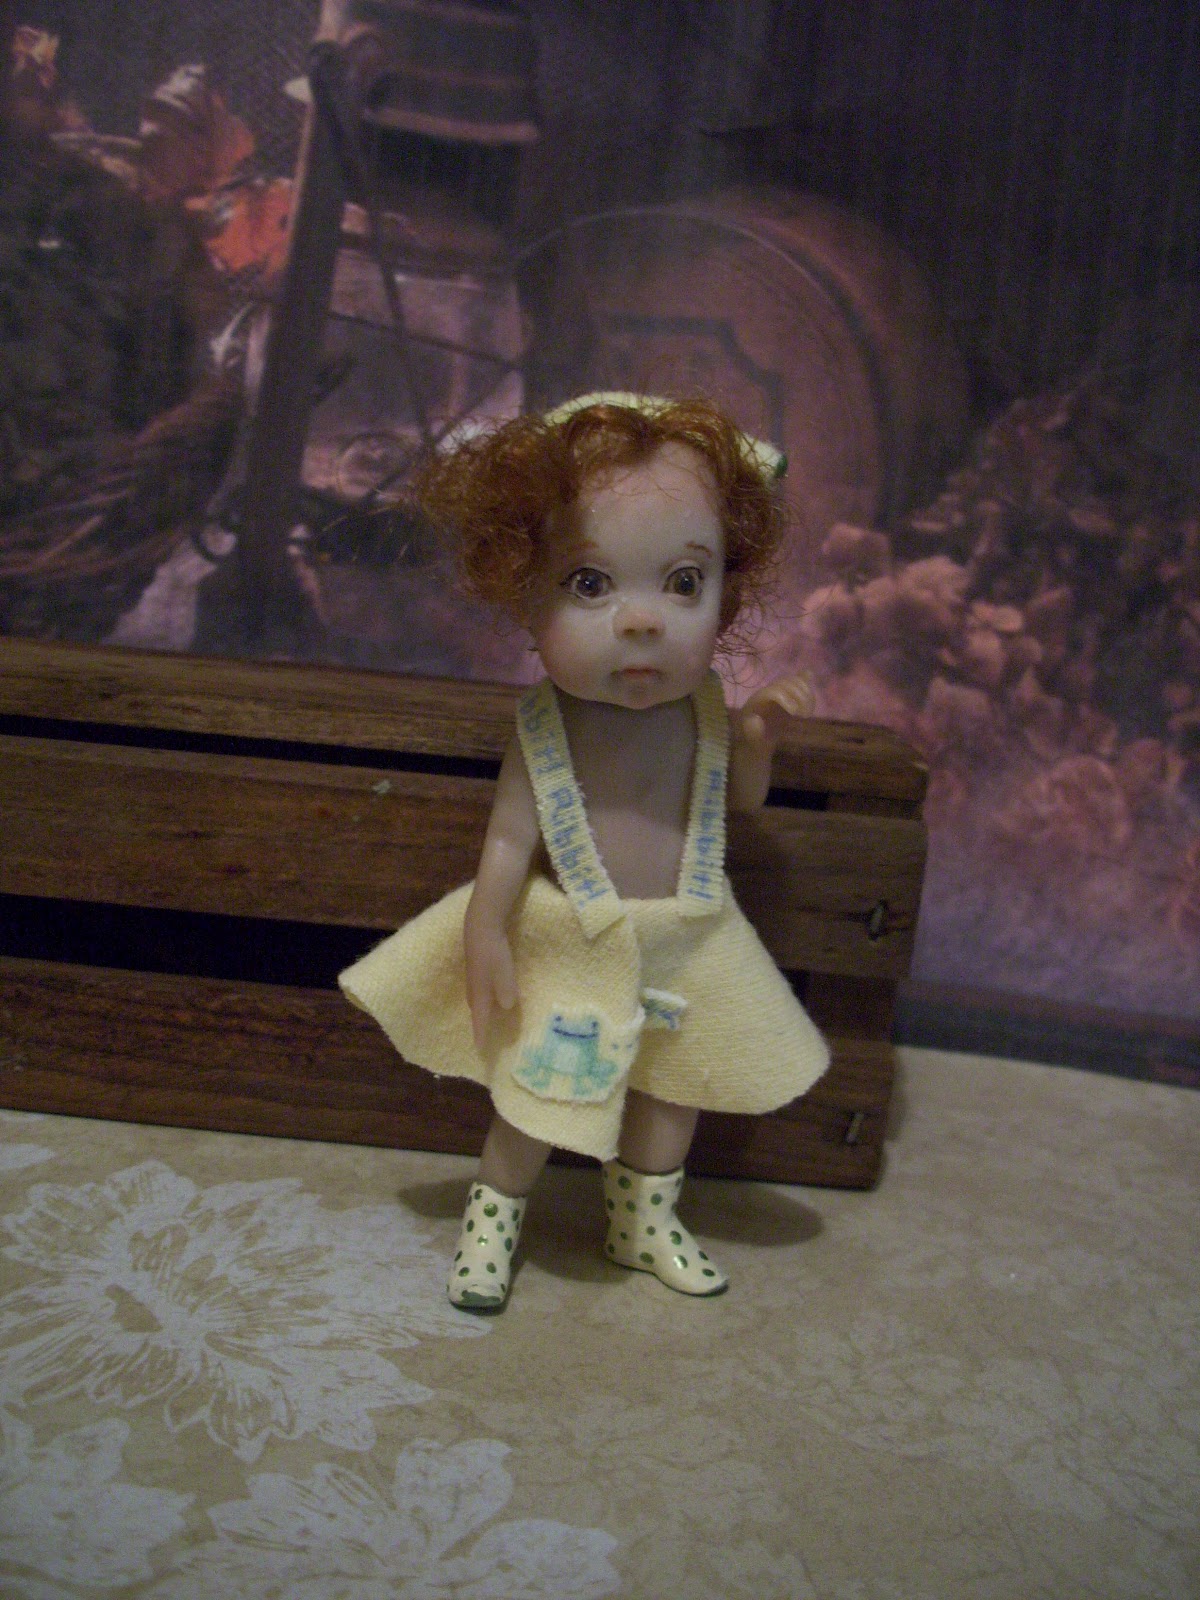
for this doll I chose synthetic hair..it is much shinier, and straighter..a bit harder for me to work with than Tibetan Lamb, but the end result is good I think for this Asian girl. The hair was applied in a natural growth pattern in small bundles. starting with the back bottom of the head, and woring my way towards the top, and sides, and the front was last. I then added a headband, and a pretty flower to her dress, and voila" shes finished!! I hope you enjoyed this tutorial, and maybe it will help a few, and entertain a few! Have a great weekend everyone! xoxo Christel


 Ok here I have created a small wire armature created from 24 gauge wire and I am beginning to add the clay. The armature here is 5 inches in height, but the doll will end up being just 4.5 inches tall. The allowance for the head/feet bends in the wire ect will shorten the height of the armature